
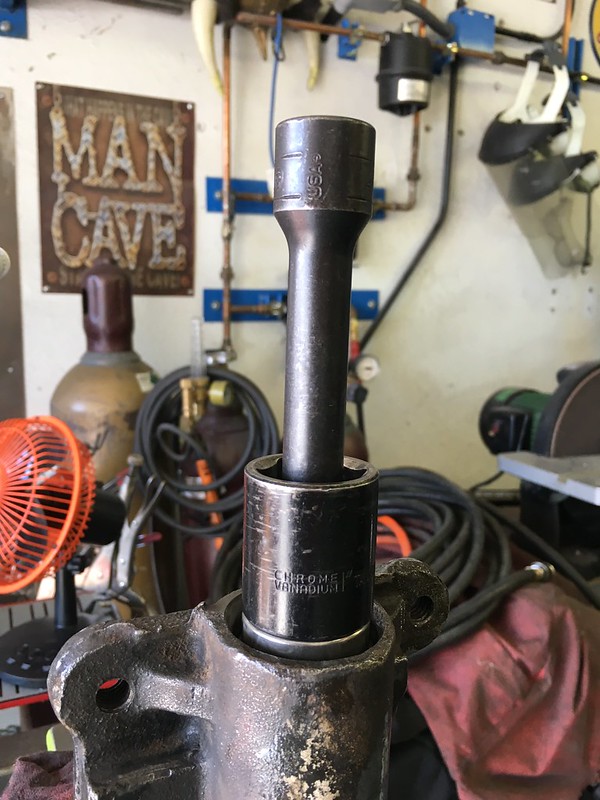
It’s going swimmingly. With the death rattle mostly fixed by the front bushing/suspension refurb a month or two back the only thing remaining on the front was danger steering. It was a good quarter turn on the wheel. I thought it might be the box. But it wasn’t. That box wasn’t in bad shape. I showed the teardown a few posts ago. What was left after cleaning was to seat the new bearings and install the reconditioned sector shaft.
I got the bearings from an industrial supply joint on ebay, $20. I got the lower shaft seal, upper worm seal and housing gasket from C&G Ford Parts. All in I spent under $40 on parts for the rebuild.
The control valve was in a different boat. It was pretty hammered. The turn slop seemed to be the valve klunking and sticking. The ball stud and slider weren’t able to rotate and slide with the freedom they needed. The retaining pin on the valve spring adjustment screw was broken and the screw spun freely. The first step in dismantling the valve end is to remove the nut and the screw that now spins freely. With no other options I brought out the trusty nut splitter. Insert joke here. I’ll wait…
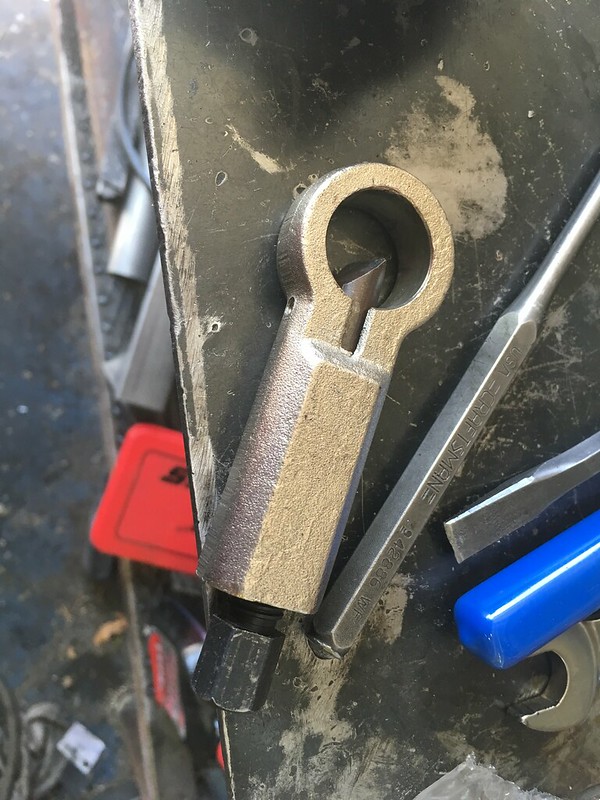
I don’t have to use them much but when I do it’s a life saver. This is what the nut looks like once the splitter is done.
Splitting the nut does have drawbacks. First and foremost, particularly when using the lower cost models (IIRC I got this one at Harbor Freight), there is a better than average chance of doing at least some thread damage. That’s no exception on this gig. One part of the threads were pretty mangled. Normally you’d use a thread restoring die or regular die but when the threads are too hammered to get a die on you use a thread file to help you out.
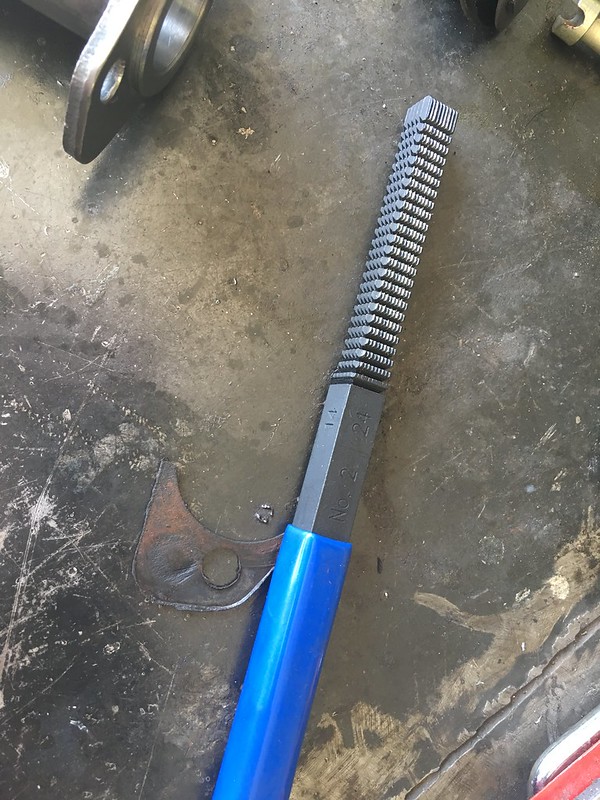
Each of the eight sides (four sides are under the handle cover) have a different pitch. You get the right size pitch, line it up with existing threads and use it like you would a regular file. Once you get a good base cut into the damaged threads you can you a restorer or die to re-profile the threads.
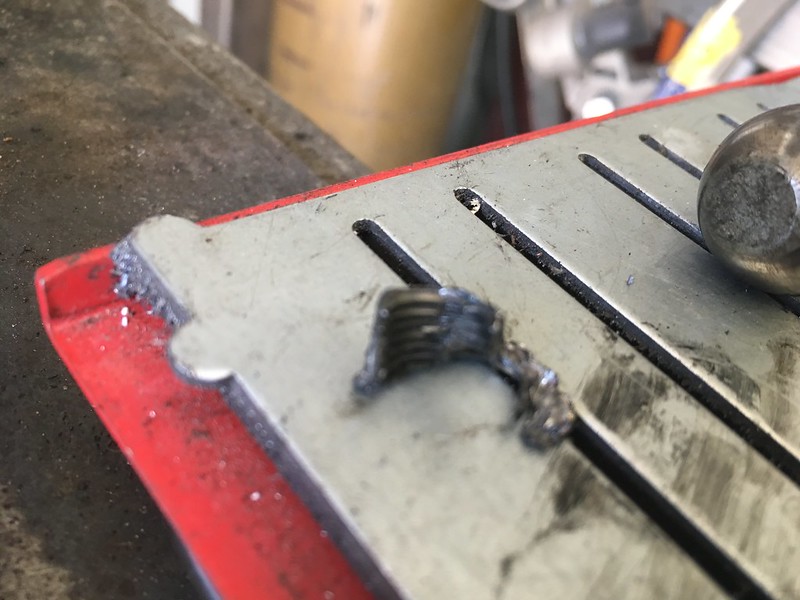
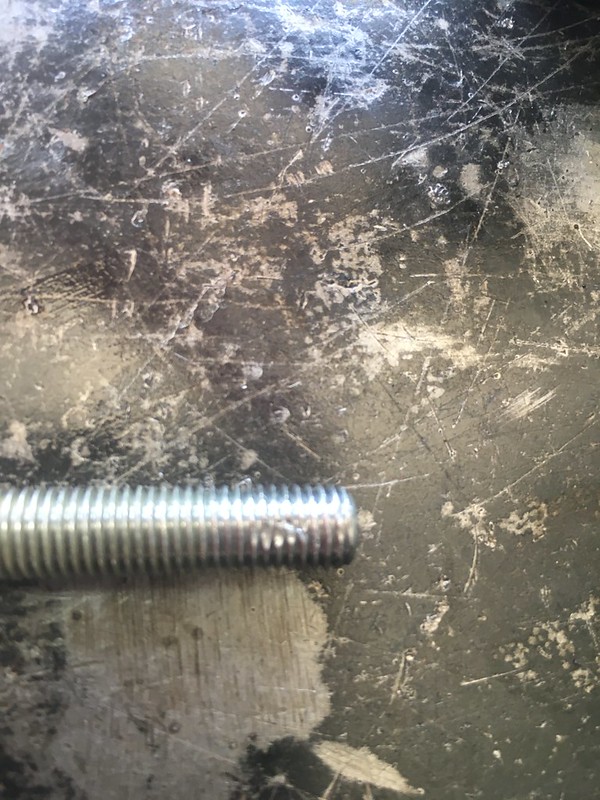
This is what it looked like when finished. Still a bit knackered but good enough for me to use on this build. The damage is caused when the stress on the flat of the nut that is being cut presses into the threads. This one was flat and completely stripped on a portion and so bad the nut couldn’t go on. But now it’s fine except for a few threads.
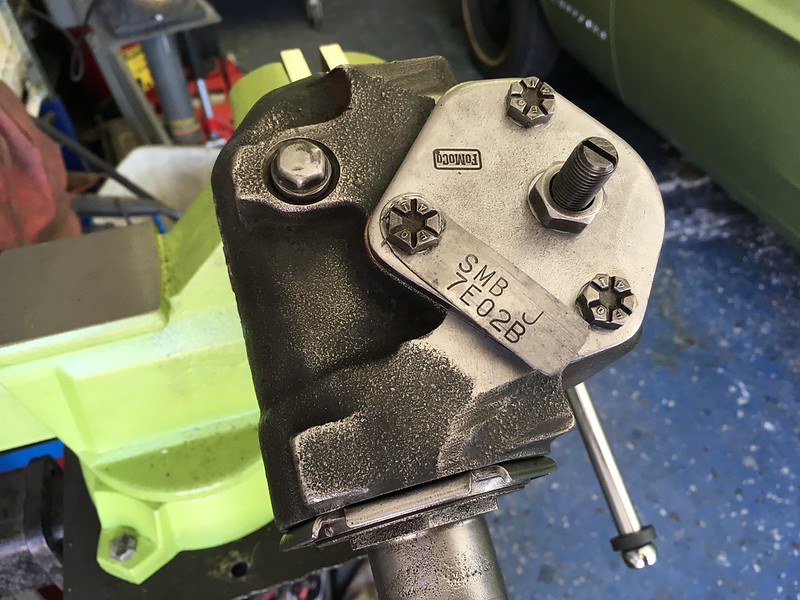
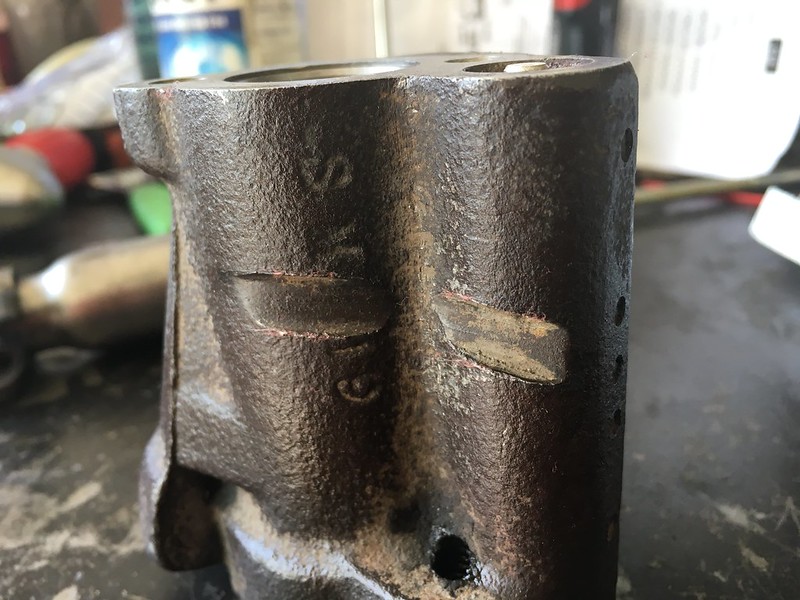
With that nut off I could finish disassembling the control valve. There were signs of heat damage. Grease was solidified on the ball stud side and ATF was gunked inside the valve side. It was pretty ugly. Externally the casting was in good shape except for some serious marks left by the tie rod bolts. Big thanks to Dan at Chockostang on the VMF forum for letting me know what caused them. If you aren’t the kind of guy that wants to dig up all your own parts get in touch with Dan and he’ll sort you out.
I don’t know if it had anything to do with the damage above but once I got to the point to remove the spool valve it needed a firm whack to get it free of the shaft. Something like the casting cylinder being out of round could be a death knell unless you had the means to turn it yourself. The spool valves are available though. The one I removed showed some obvious signs of wear.
I was able to buff the runout using shop roll and the buffer. The cylinder needed a slight bit of the ball hone. After a bit of massaging both and some ATF the valve was able to move freely in the cylinder. Here’s some of the assembly laid out on the bench. At the point the pic was taken the ball stud body had been reconditioned but not the internals.
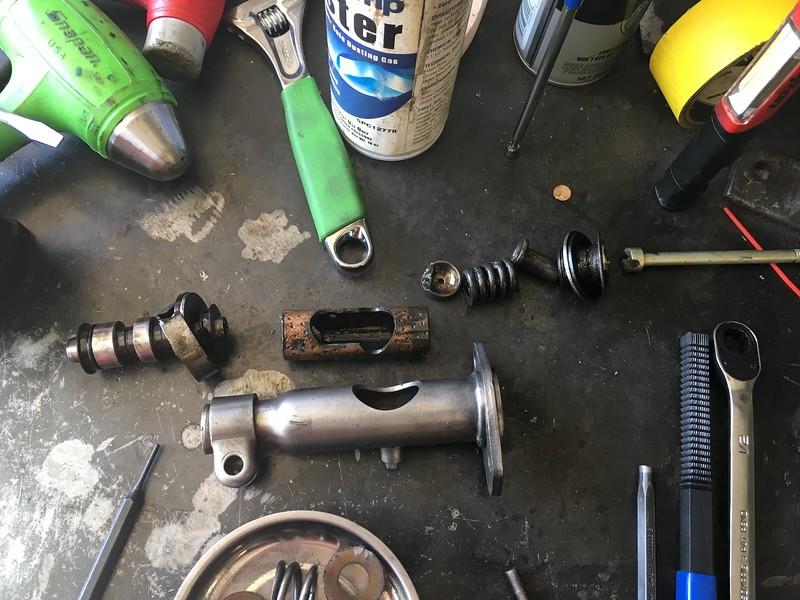
It took some cleaning. The slide (the bronze part the ball stud rides in) was the worst of the parts that aren’t being replaced though they do make repro slides. With a bit of the hone in the body and some shop cloth and Scotch Brite I was able to recondition the slide to my liking. I used the Gates 351650 from Rock Auto for the rebuild kit. It’s about $21. Most of the internals are replaced. It’s not a full rebuild without replacing the hose seats. In fact common wisdom (not mine but someone that knows what they are doing) is to replace the seats every time you take the hose off. I thought I had a snap of the seat removal but I can’t find it. I screwed a tap into them and they pull right out. Like a knucklehead I forgot to order them and needed to have them overnighted. Complete cost on that was about $40. Ouch.
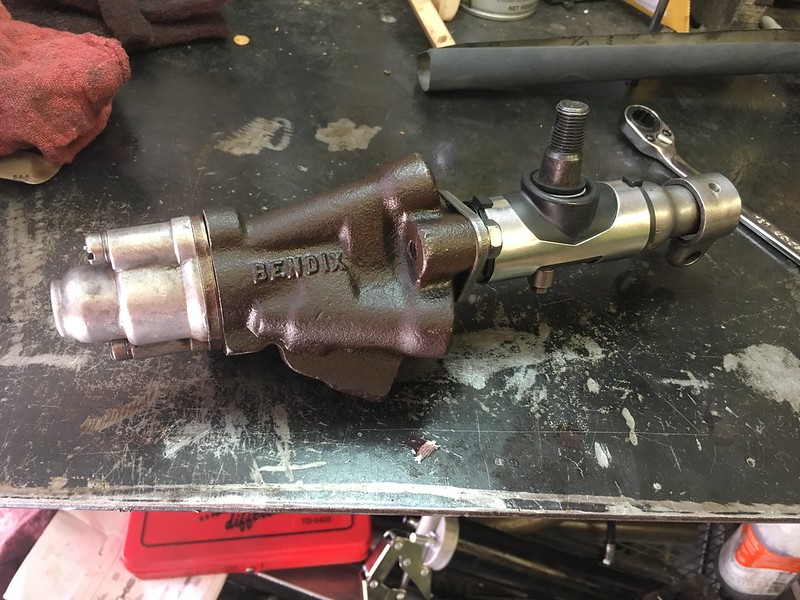
Here it is back together with new guts and refurbished everything else.
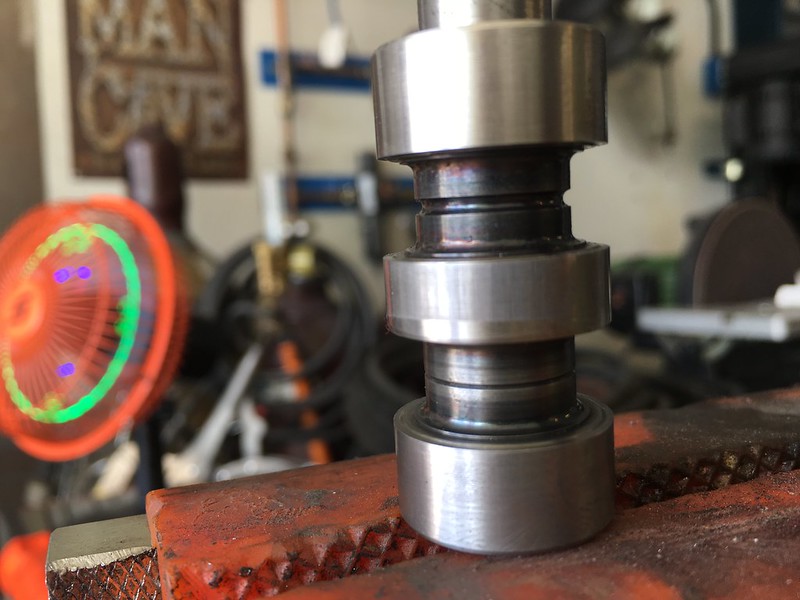
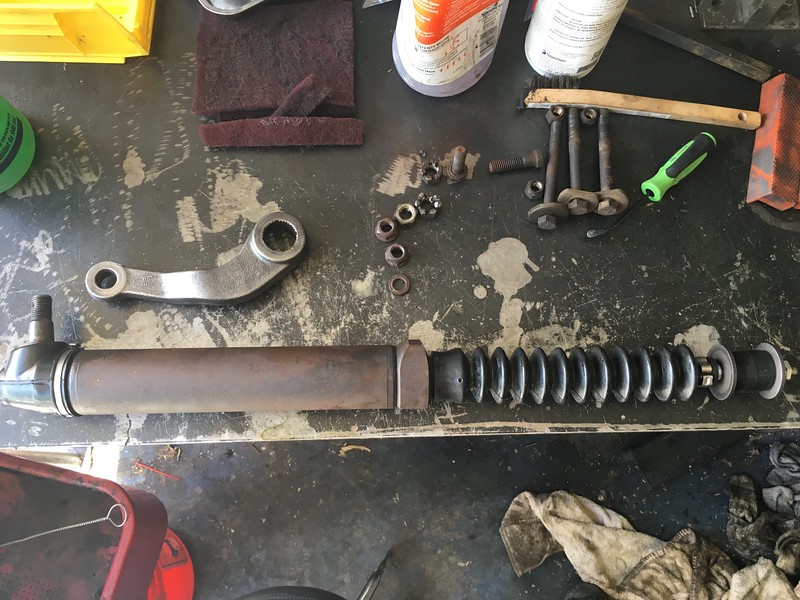
The cylinder or ram is the easiest of the bunch. Except for a wiper, some hardware and a few seals there isn’t much you can do to it. The internals are within a welded tube and not accessible to mere mortals such as ourselves. Unless we want to cut it open, look at parts we probably can’t get then weld it back up and hope we didn’t hose it. The outer seal replacement is dead easy. The ball end and ball end boot were in great shape too. I used a Gates 351430 seal kit and a Gates 498491 shaft boot kit from Rock Auto. I did give the ram shaft a bit of buffing love but other than that it’s a straight forward seal job. The boot kit is $18, the seal kit is $9 and of course the hose seats are another $5-15 depending on where you go.
Here it is.
You can do all four of the big parts yourself and save some money. Even with some stupid shipping I’m under $200. Once I got the vise I was done in a day or so. You can just get the complete rebuilt parts yourself but if you go that route you’ll spend $1100-1200 on the complete job. The box and steering shaft are the big ticket items at about $600. The control valve and pump are a couple hundred each and the ram is just over $100.
If you do want to roll your own as always the FSM, MPAC and chassis assembly manual are pretty much required. There are also a few docs at stangerssite. He sells parts and services and has a good library of information about Mustang steering systems.
What to know on a box rebuild. http://www.stangerssite.com/CanISteeringBox.html
What to know on a control valve rebuild.
http://www.stangerssite.com/CanIControlValve.html
What to know on a pump rebuild.
http://www.stangerssite.com/CanIFordPump.html
What to know on a ram rebuild.
http://www.stangerssite.com/CanIPowerCylinder.html
It’s Tues night now. I’m hoping to be back on the road by early Fri evening.