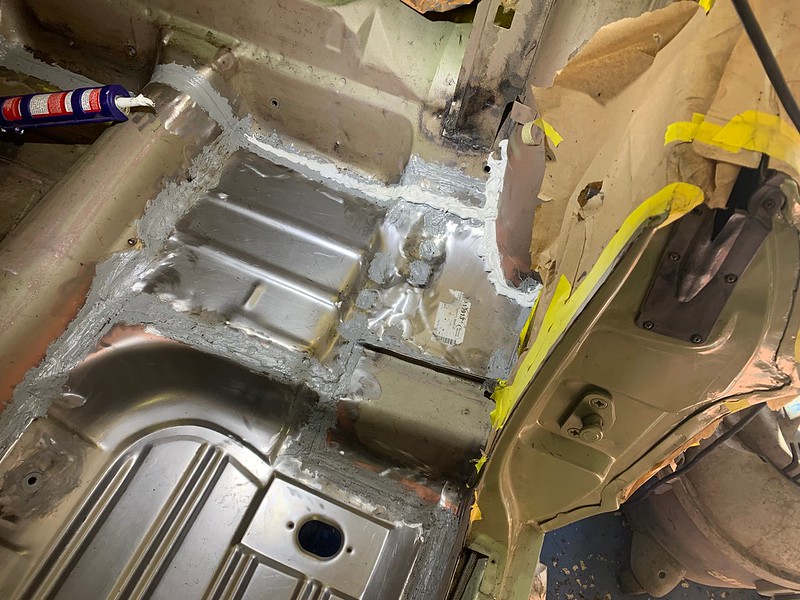
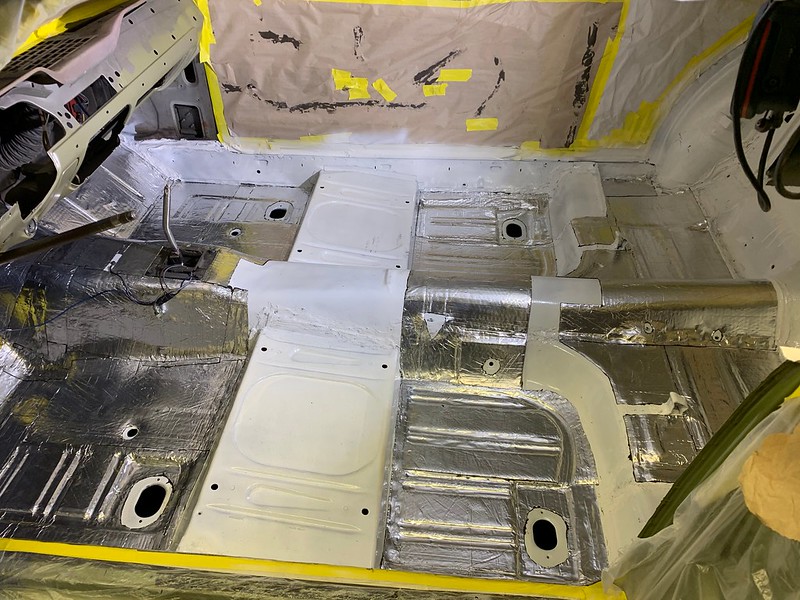
With the welding out of the way it’s time to start sealing so we can coat it and install the deadening. I used two types of seam sealer. I used a brushable Evercoat sealer and tube applied sealer from Dominion. I added the Ford Weldment and Sealer Assembly Manual to my collection prior to starting the floor project. It tells you where it was welded and by what process and where to seal using the type of sealer for that particular joint. I mostly followed the welding as it was replacing factory spot welds but the welds on the newly minted joints (from cutting things out) and sealing those I used the “regular guy” method of saying “this looks good here” and welding or sealing it that way.
The first shot was with the brushable sealer in every nook and cranny I could slather it into as well as all the plug welds. First though I checked to make sure those bits were supposed to be sealed. And they were. The tube sealer was applied and leveled over the brushable at every seam but not over the plug welds. I did the same under the car.
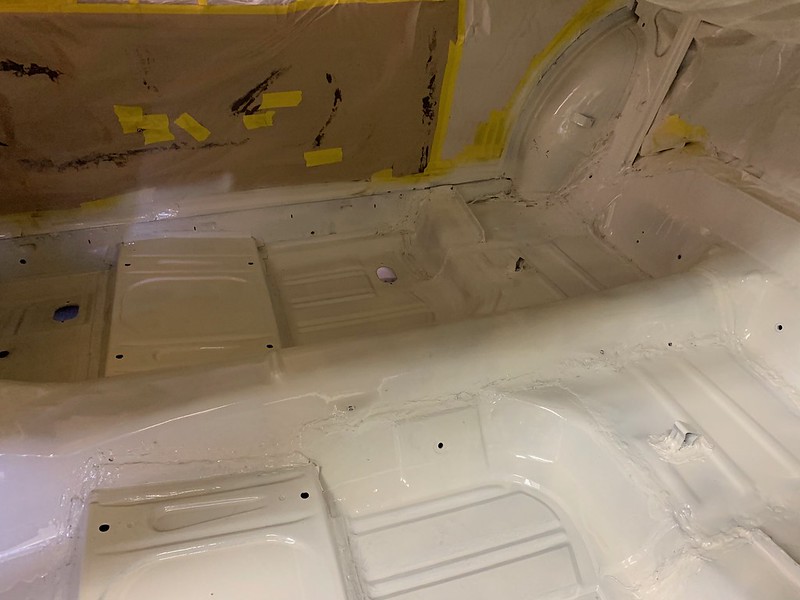
With the new seams sealed it was time to tackle the prep for painting the floor. I’m removing the old built up sealer as it’s crumbling off anyway. It’s a mess to take off. The Crud Thug and a wide bent chisel bit in the air hammer on low speed works great. After that it’s washed with auto body wax and grease remover then taken to metal with a 60 grit flap. The tools used might seem like overkill but it makes quick work of it.

It’s just nasty.
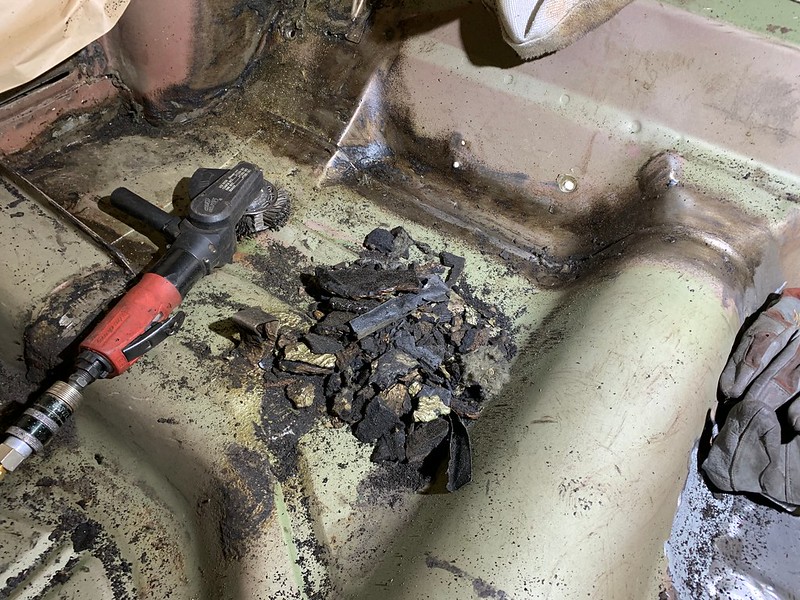
So with all the gunk of the old sealer it’s time to take the floor to bare metal before the sealer is applied where the old sealer was removed. Or in many cases just fell out from age. I used mainly 60 grit flap on either an angle grinder or a Roloc depending on the size. In some tight quarters I had to use cartridge rolls and/or Scotch Brite on a 1″ Roloc. For this I leave the hard sand marks from the 60 grit in as I want the bite of the bare metal but it’s also going to be covered with deadening and carpet after it’s painted.

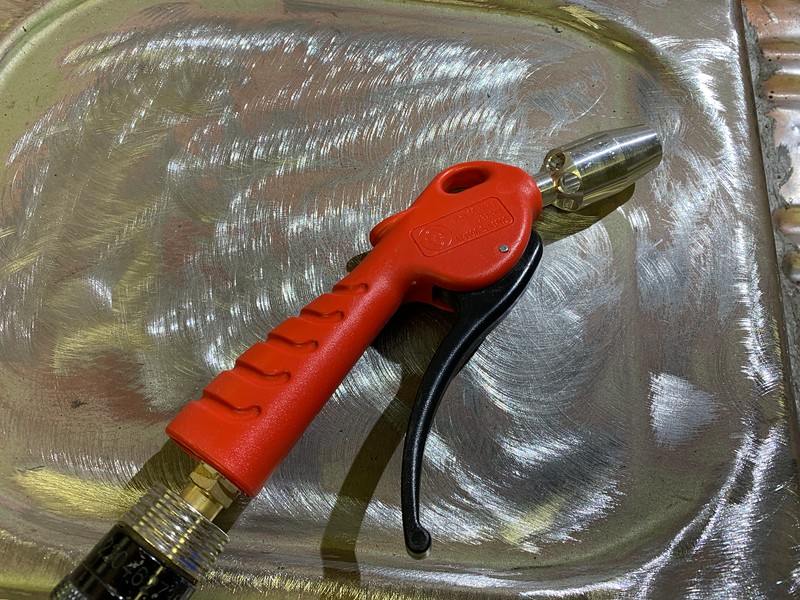
One of the tools I picked up off the truck during this stage was a vortex high volume blow gun. This thing is a beast. The vortex give you about 20 cfm more than the line pressure. My wife thinks that the car projects are just excuses to buy more tools. She’s not wrong…
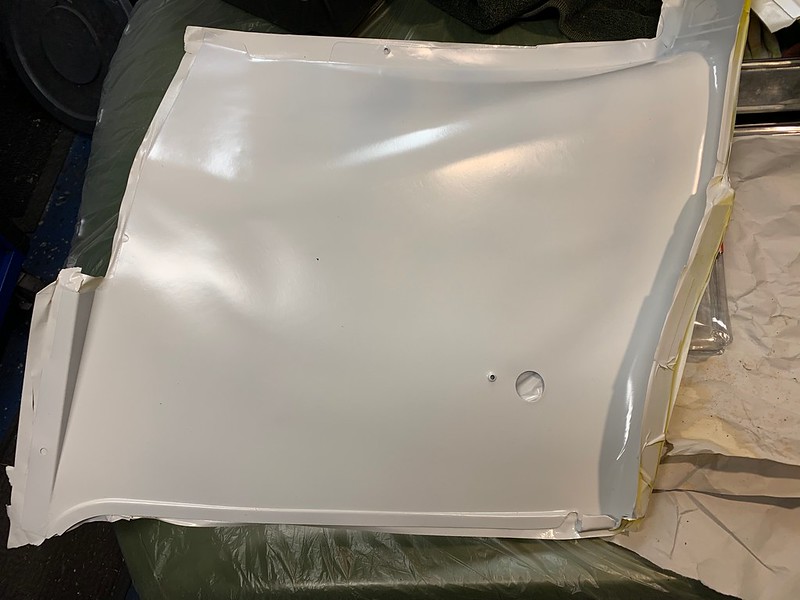
With the blow gun, Shop Vac and wax and grease remover I’m able to get ready to paint. I’m using Transtar epoxy primer as the coating. I want something that will seal and bond well to the substrate. Because it’s not going to see any UV it’s a good choice for this app. I used Transtar instead of SPI or PPG primarily for availability and cost. SPI is great but it’s phone order only and PPG is priced, well, like PPG. And my gray market guy doesn’t sell PPG primers or clears, only color. On the first application I wasn’t digging how it went down. The activator was separating and the flows were inconsistent. It was also right about 50 F ambient and just about that on the substrate with the sun in the garage. About half way through the first pass the sun set and it got cold quick. Cold for here, into the 40s When it’s 110+ for much of the summer 40s are cold. My guess is it was too cold but it went on and did harden though took into the next day.
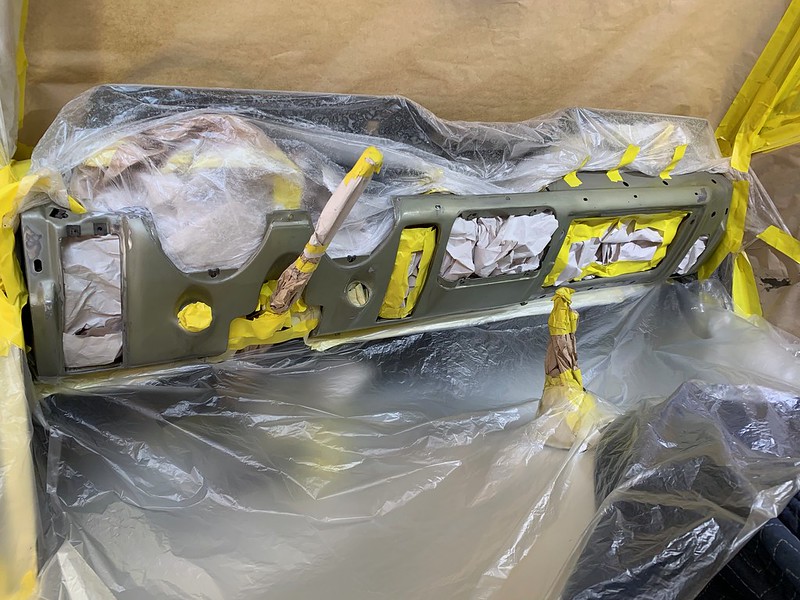
With the spray out of the way time to move to the dash. I’m using NPD rattle can lacquer to match the Ivy Green the car came with. The color is a dead nuts match. So far I’ve done the steering column (and boy did it need it on the engine side), dash and back seat side panels.
Here’s the prep. After cleaning with wax and grease remover I lightly hit it with 360 grit Mirka Abralon. Abralon is a high quality abrasive that’s backed with about an 1/8″ of foam. It’s got fantastic flexibility. It’s just enough to scuff but not so much to leave marks. Any marks that are left are taken out with 500 grit.

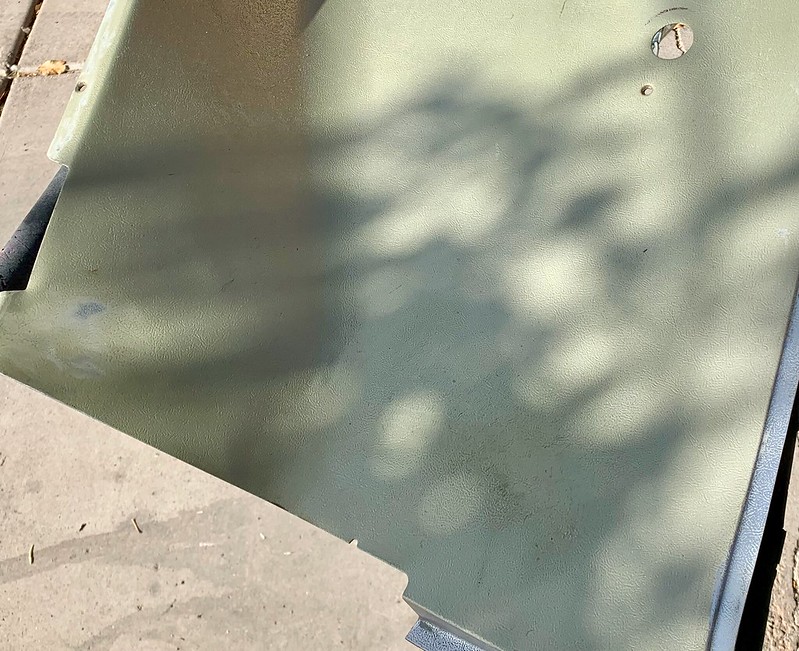
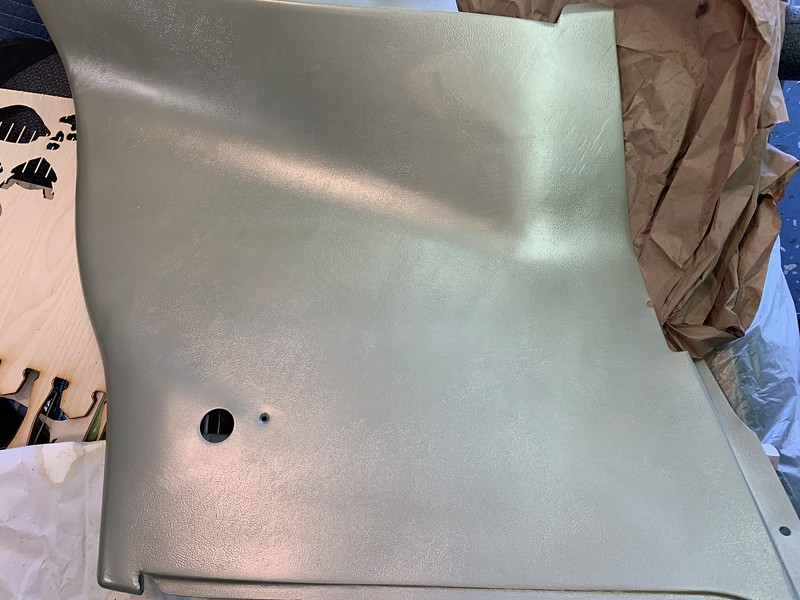
With that out of the way I attacked the rear panels. They needed more love. From the 50 plus years there were are variety of scratches and some pretty caked on dirt with a bit of surface rust. That I hit with a 6″ DA sander with Mirka paper backed 320 grit, 400 grit then 600 grit to finish it off. There were several spots where I had to take it to metal with Scotch Brite on a Roloc using 3″, 2″ and 1″. I then blocked the whole thing using the same grit sequence as before. I did well by not getting too badly into the pattern but getting the embedded kack off the piece. On side did need a bit of body glaze as it had a pretty deep scratch. Unfortunately the lacquer doesn’t cover glaze very well. I’m going to need to block it back off in that spot, prime it and see if that works any better.
Here’s pre prep.
The rear was taken down the the metal with 220 grit DA and Scotch Brite. There was surface rust galore and the remnants of whatever sort material was on the back.
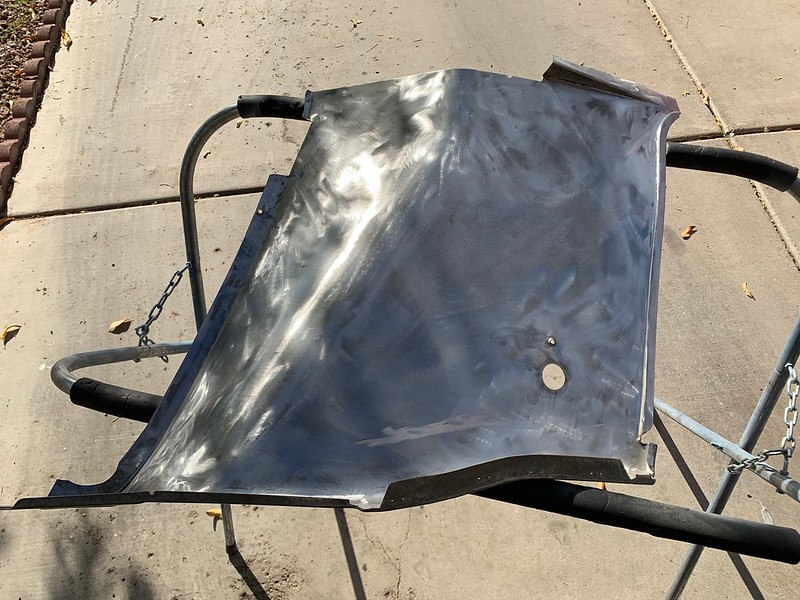
I hit the back with the same epoxy primer I used on the floor. This time the temp outside was closer to 70 and it laid down well.
Then the other side was finished off with the lacquer. I’m pleased with the color.
With those done and out of the way it’s time to start installing the deadening. My wife is doing that part of the project as well as the carpet, replacing the seat batting and general detailing. The batting was eaten/carried away by the by whatever rodents, squirrels or whatever it was that were living in the car for 11 years up on the mountain. She’ll deep clean the seats as the covers are in great shape and replace the jute backing on the carpet. We’re able to recondition the carpet (it was refreshed in the 90s) and use it again.
From the first box of Noico, installing as per the assembly manual then coming back and filling in whatever else we feel needs it. We also did the masonite that divides the seat and trunk replacing whatever that hairy stuff on it was with Noico. Noico installs like a breeze. It’s durable but cuts easy enough. We bought some Wise carpet scissors and the Noico metal drum roller. The aluminum edge on the material is sharp enough to cut you if you aren’t careful.
As we await the delivery of the jute rolls I’m starting to clean/restore the chrome and metal as much as I can. I did buy something to help with that after looking to see how much it would be just to replace the chrome. The tool and consumables will be much cheaper though more time consuming.
The tool is a two speed polisher sander. I got it off the truck. It uses the same battery system my other 14.4 volts tools use. You buff at the lower speed, sand at the higher speed.
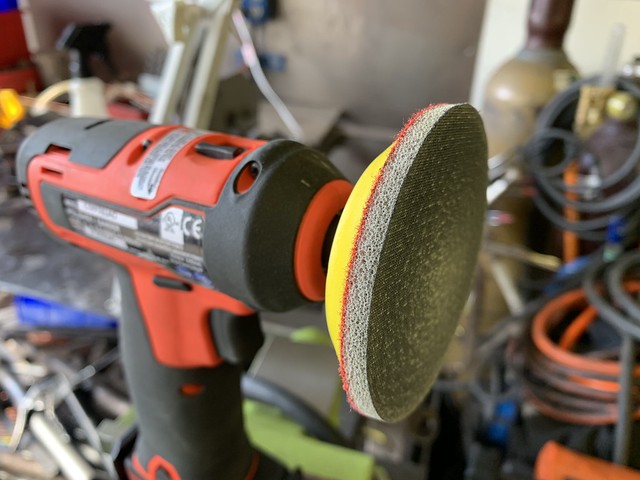
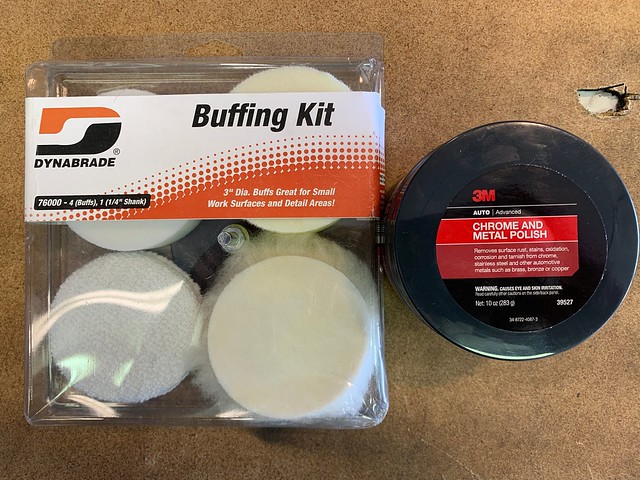
To refurb the chrome I start by cleaning with wax and grease remover. I then hit it with 360 Abralon but at the lower speed. That knocks the big pocks and oxidation off. I’ll wipe again with the solvent then using a yellow foam cutting disc I’ll add 3M Metal and Chrome polish. I’ll wipe that with a clean rag then use a white foam pad with no extra polish applied. I then wipe the part with some light polish on a microfiber cloth so I can finish it off and shine it with a wool buffing pad. It won’t completely remove deep pits and divots but it cleans the parts pretty well and they do get a good shine back even with light pitting. Since the car is a survivor that’s getting a refresh this is a good compromise.
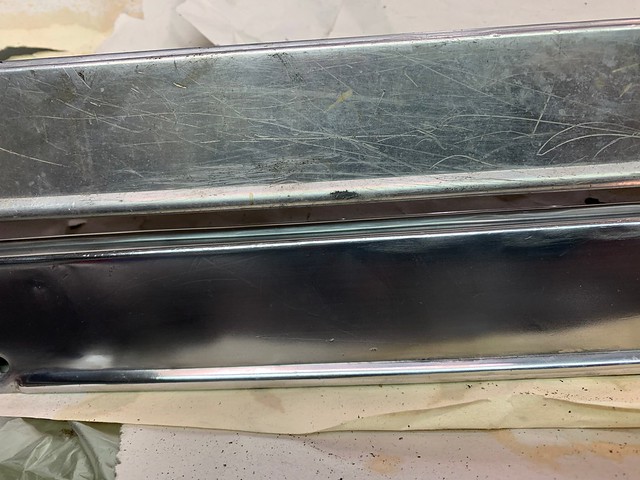
Here’s a comparison on the door frame scuff panels. They aren’t chrome but it shows what can be done with just a bit of work.
That’s where we’re at right now. I’m doing the doors right now. Painting, new weather stripping and putting on new door cards that we had but weren’t installed. The jute is delaying the carpet install which is delaying the dash assembly which is delaying the seat installation which is delaying the steering column assembly. At least I got the doors and the rest of the interior chrome to polish.