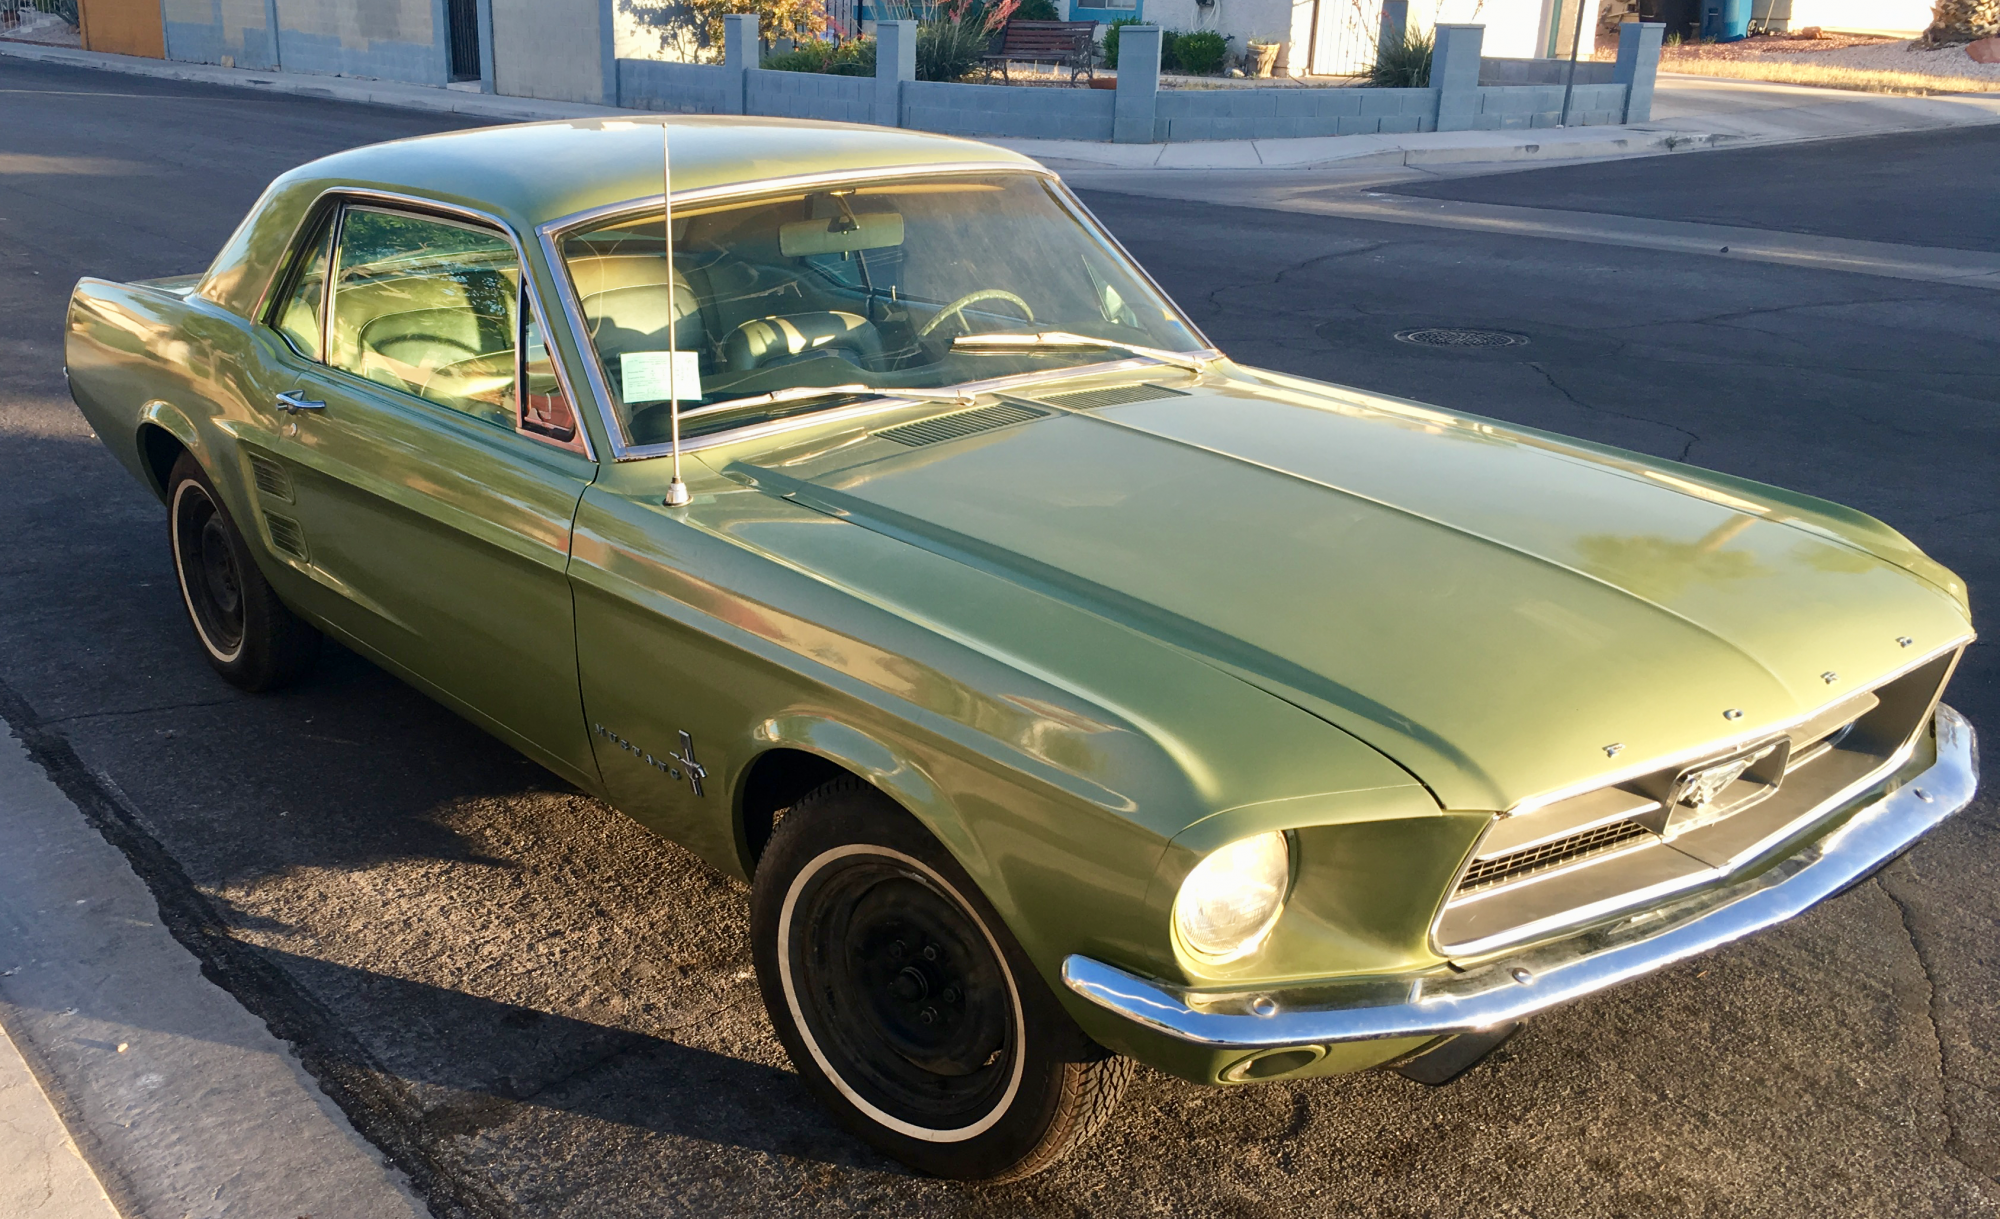
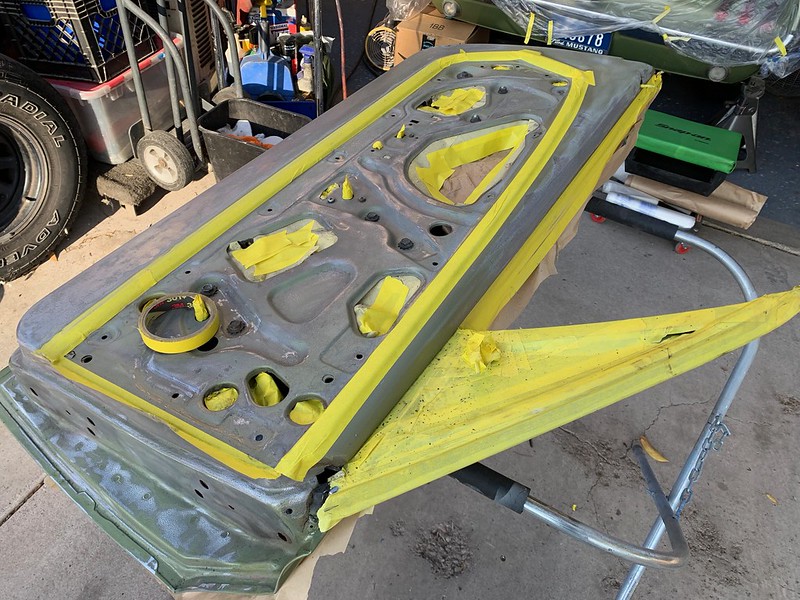
With the carpet and seats underway the rest of the interior painting needs to be completed. The interior was painted during that mid 90s refresh with the other bits. I did find the paint used in a box with various parts, new and used, that were in the car. It wasn’t exactly Ivy Gold. When I first got the Ivy Gold for this after I did the spray out I noticed it was a fair bit off. The old can of Krylon in the box explains that. I don’t even know if they had period/material correct interior paint for the Ponys back then.
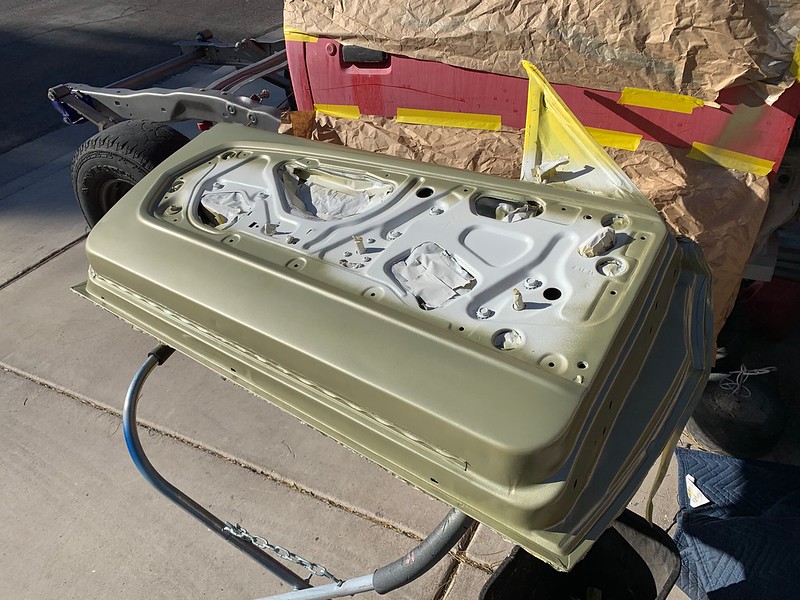
I like the paint. It’s Seymour rattle can lacquer mixed by NPD. While the color is a great match I’m not wild about the application. It’s prone to sputter and clogging unless you do some specific things. It’s a heavy bodied metallic and real lacquer. That’s awesome for the color but makes application a bit more difficult than rattle can enamel.

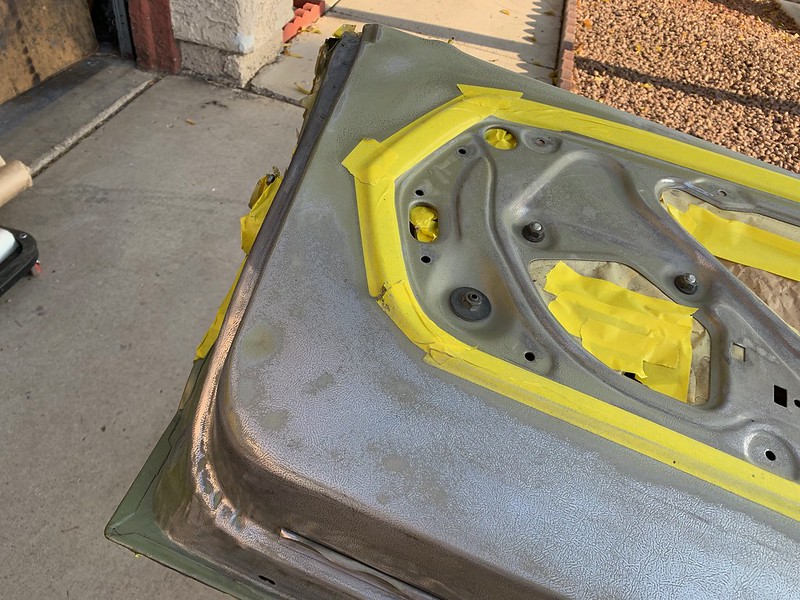
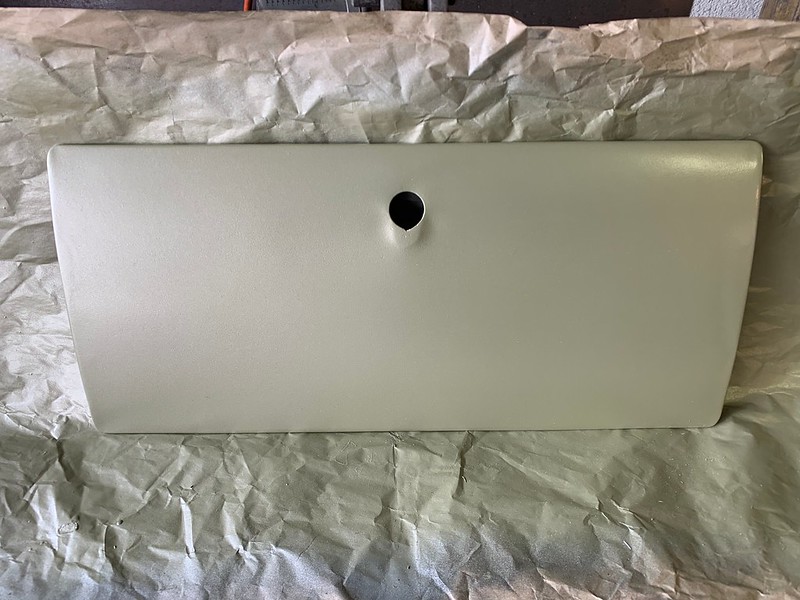
Check out the silver metallic in the overspray in the pic above. That’s what gives the color its secret sauce. The overspray will settle on the parts but by that point it’s dry enough it blows or wipes off after the coating has dried. Like any good rattle can paint keep shaking the hell out if it to make sure it’s mixed and there is enough propellent. You’ll need to make sure the tip stays clean as the paint is heavy enough to build up around the opening. Short, quick strokes 4″ to 6″ from the part will do it. Here’s an example of allowing too much to build on the nozzle.
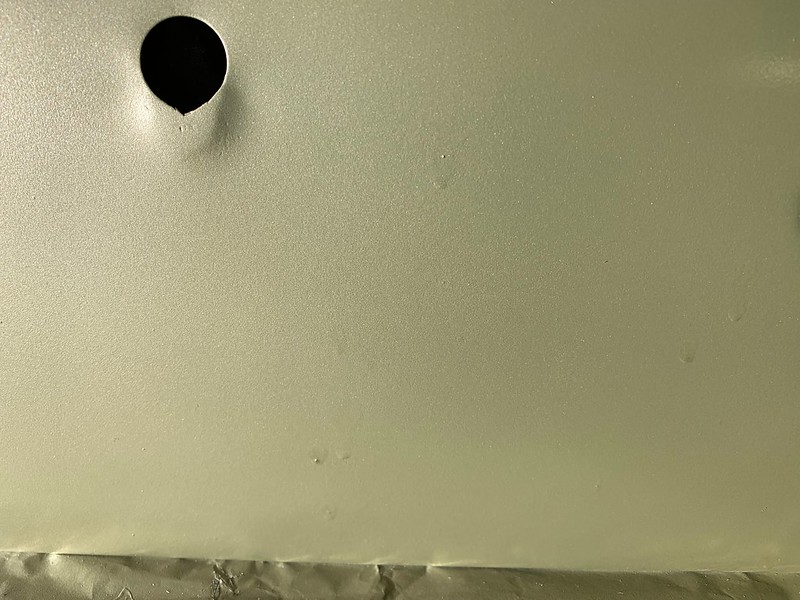
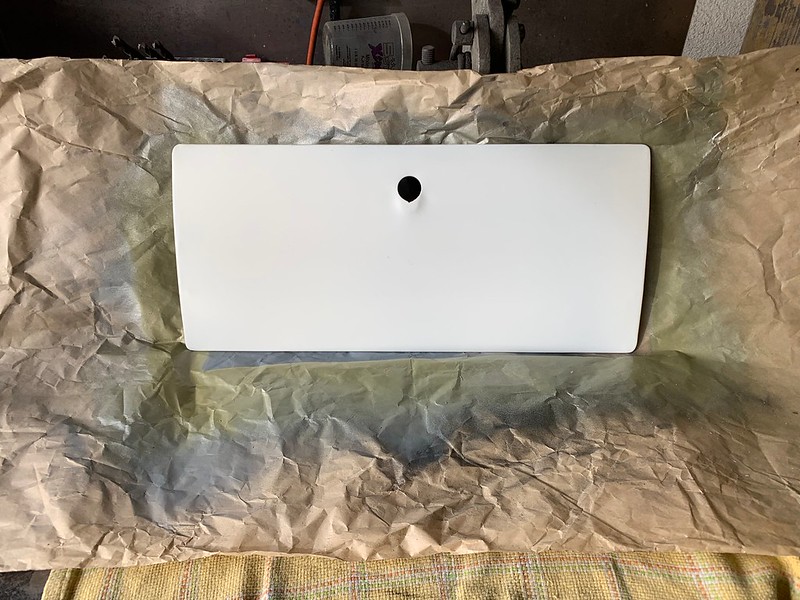
The paint defects on the glove box door are from the metallic gathering at the tip and being propelled on the surface like a bug splat. At first I thought it was my application technique but figured out I need to keep the chunks from gathering on the nozzle. Pay no mind to the deformation around the latch opening. Apparently some decades back there was a locking glove box and it was pried open for whatever reason. It was worse off before I got to it. I didn’t want to spend more time cutting and welding and finishing. Plus I didn’t know what the contour was supposed to be. When I first looked at glove boxes I was stunned to see it listed at $38. On further inspection that was only for the plastic insides. The door was a fair amount over $100. I was stunned then too. But in a different way. Mocked in the car it doesn’t look too bad and you don’t notice if you aren’t looking directly for it.
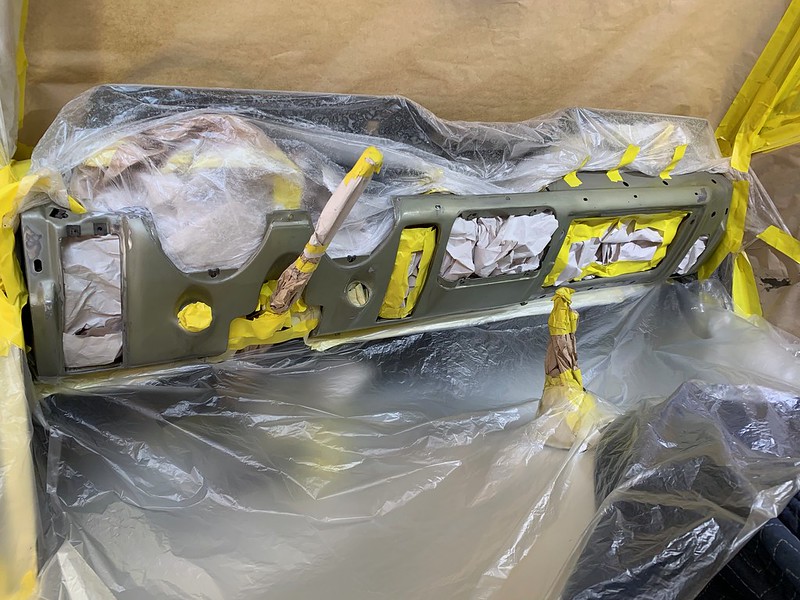
I’ve got all new trim and bezels for the dash including the instrument gauge. Dad bought them years back and they sat in that box in the trunk still in the original plastic and still with the hand written California Mustang receipt. Previously I reconditioned the original headlight switch and I’ll also get to the original vent/climate switch. That one isn’t cheap either. Here’s how the dash ended up. I didn’t prime it like all the other pieces. It was the first one I shot and now I wish I would have primed it. I scuffed it until what had been put on in the 90s was off and there was still a good base of the original paint.

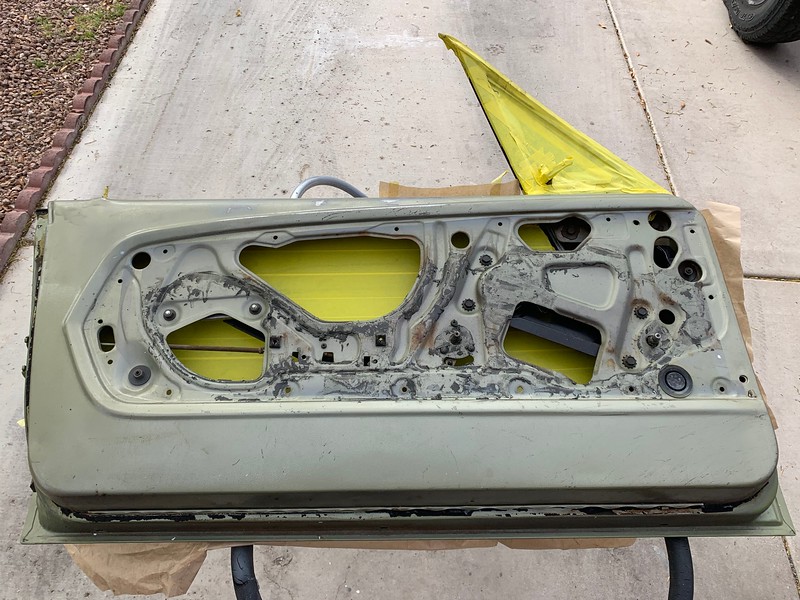


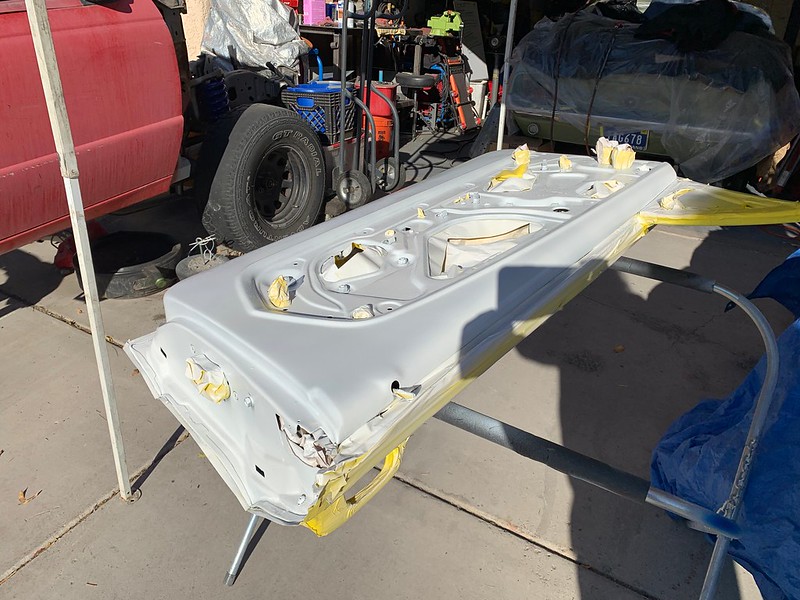
Now those are done and wrapped in packing blankets ready for weatherstripping, door cards and re-mounting.